Hello, friends! Here in San Francisco, Spring is definitely in the air! I am preparing the next cheese recital–not gonna lie, there are a lot of challenges involved with this recital–from trying to virtually rehearse with a pianist, to finding a venue that will allow for vocal recording. We will get there, though! I love the program I have chosen for you, and the cheeses are so fabulous.
However, today, I wanted to share an experiment I tried out over the winter–shibori, a Japanese manual resist dyeing technique using indigo. Like a lot of people, I was really interested in that lockdown tie-dye lewk, but wanted to bring my own flavor to it. A zillion Internet searches later, I settled on trying to dye my own napkins and scarves using these traditional dyeing and folding techniques. I folded everything over about 4 days, then did two dyeing sessions of about 6 and 5 hours, respectively. I admit, it was a little ambitious.
Here are the steps I took to create about different sets of napkins, and half a dozen scarves.
Shibori Materials
I purchased a starter Indigo tie dye kit from my local art store, Flax.
My 6 cotton scarves and 1 lb. bag of rubber bands came from popular Dharma Trading Company:
The three dozen flour sack napkins came from Amazon.
I also got white string from my local hardware store, a 5-gallon bucket, long rubber gloves, a tarp to lay my items out, a mesh laundry bag, an outdoor clothesline, a low stool, and wooden stick.
Tying The Fabric
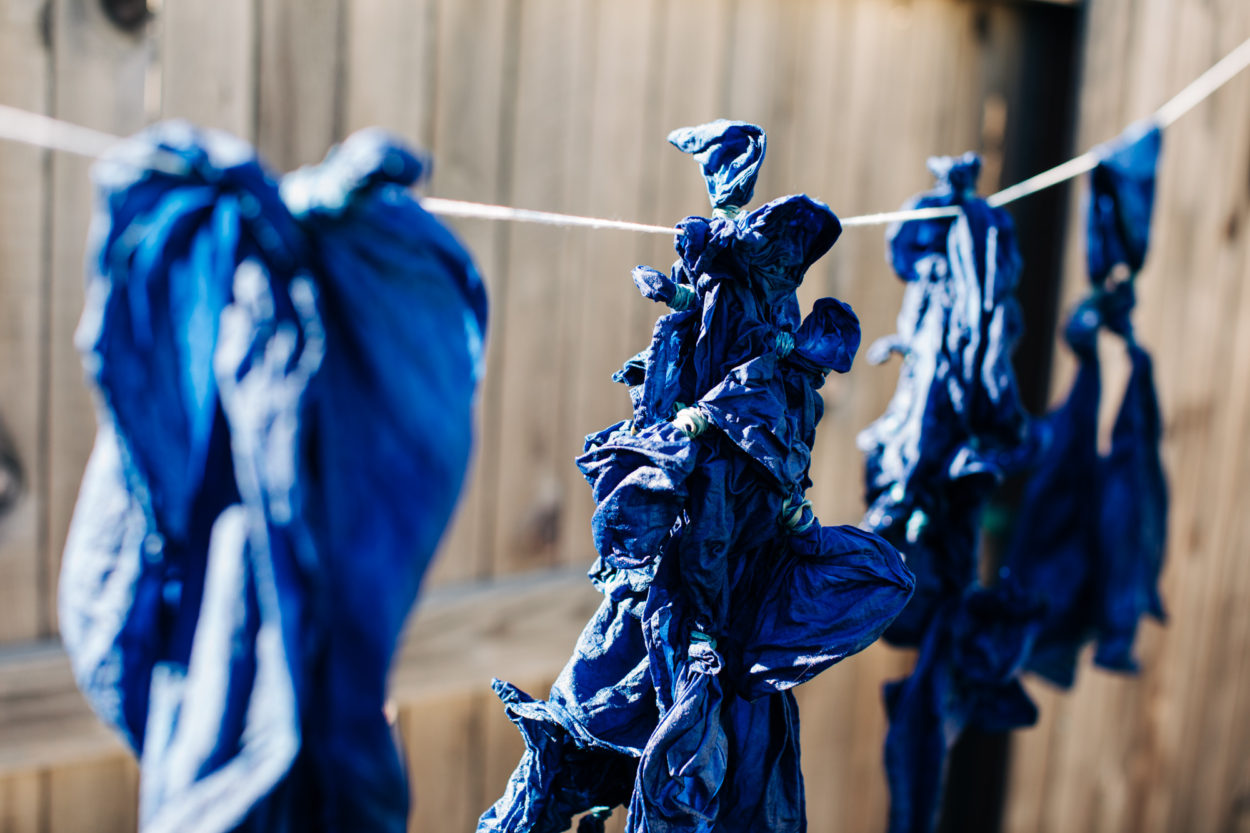
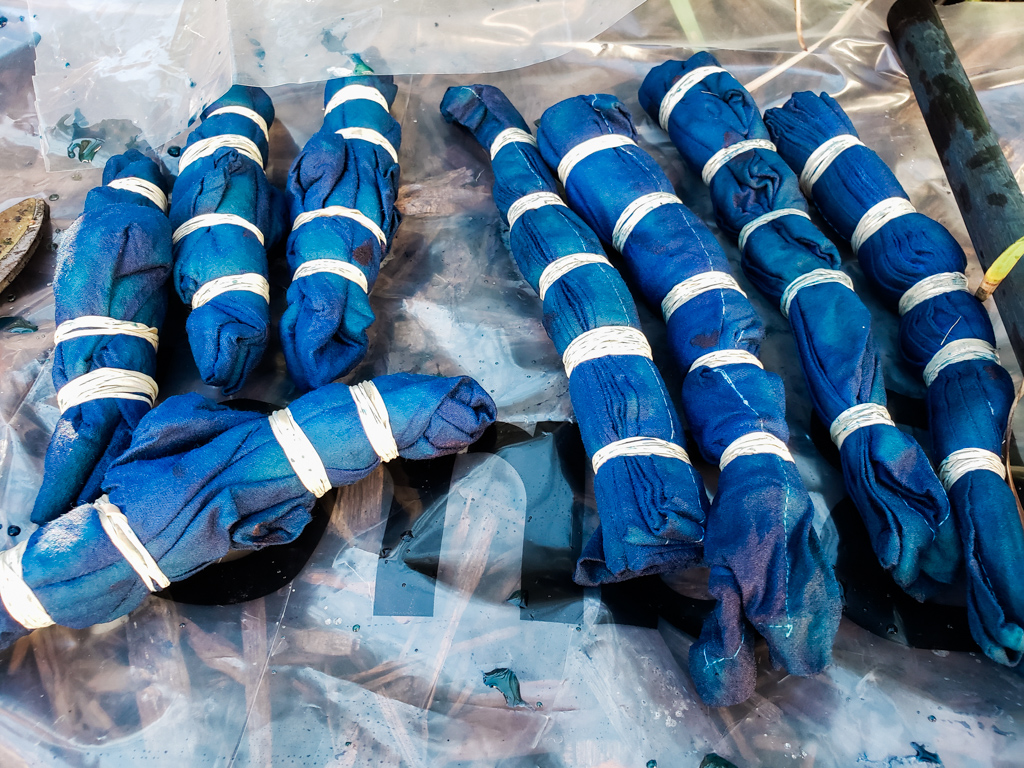
The magic of indigo dyeing is in the folding and tying of your fabric. Using rubber bands, string, stitching, and even objects, you can create patterns and designs. Indigo dye turns its characteristic blue color through oxidation, so you are supposed to tie off areas that you do not want to turn blue. Blocked from the air, they will remain their original color.
I had no idea what I was doing, so got almost all of my ideas from this Youtube shibori instruction channel.
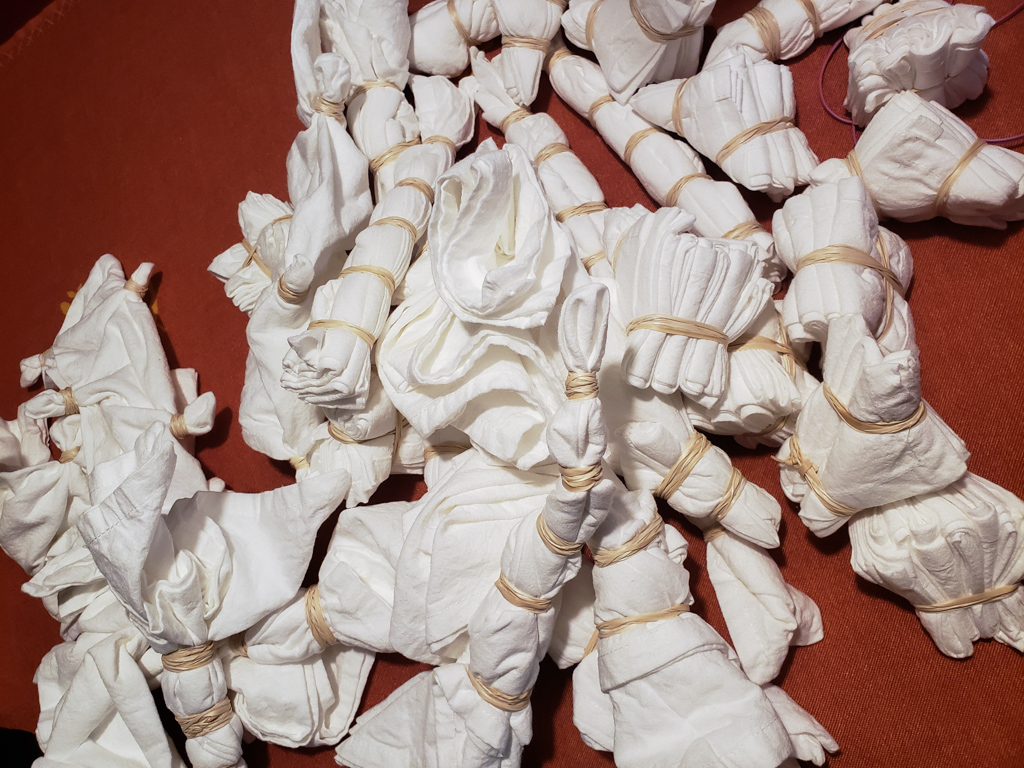
A lot of the tutorials I watched impressed on me the importance of tying things very tightly so as not to let air into the folds. As a result, I think I actually may have tied some designs too tightly. We don’t actually need death grip-level bands and knots. We can crank it down a notch. I found myself having to open up some folds around my ties because they were a little too closed to let enough air in. You’ll get a feel for it as you keep practicing!
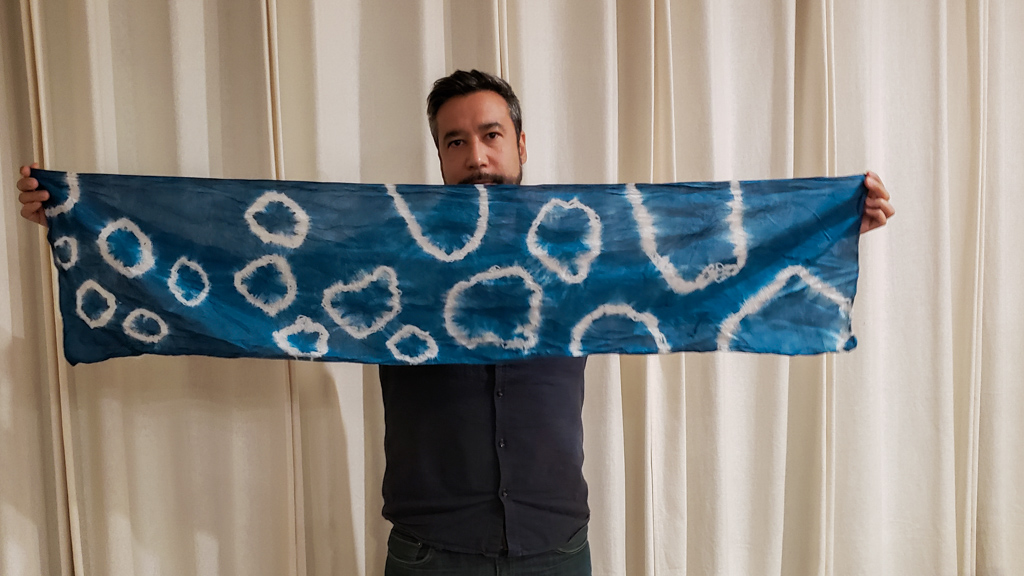
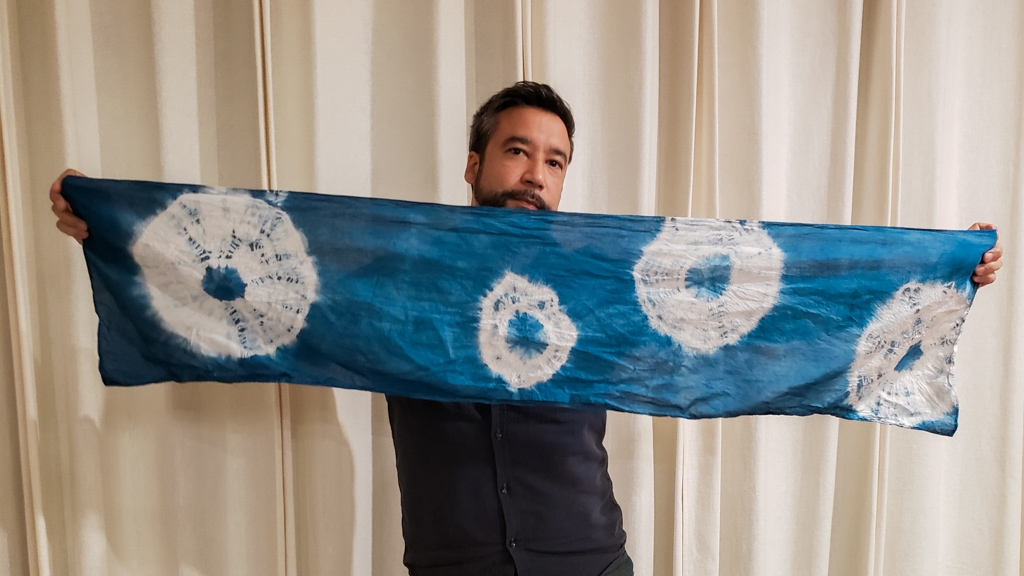
In the end, I found simpler was better in terms of folding and tying techniques! I also found I really like more blue than white in my designs! Play around, and see what you like. Lucky for people like you and me, there are lots of Internet resources to help us find inspiration. This blog post was another source of inspiration and instruction for me.
Dyeing the Fabric
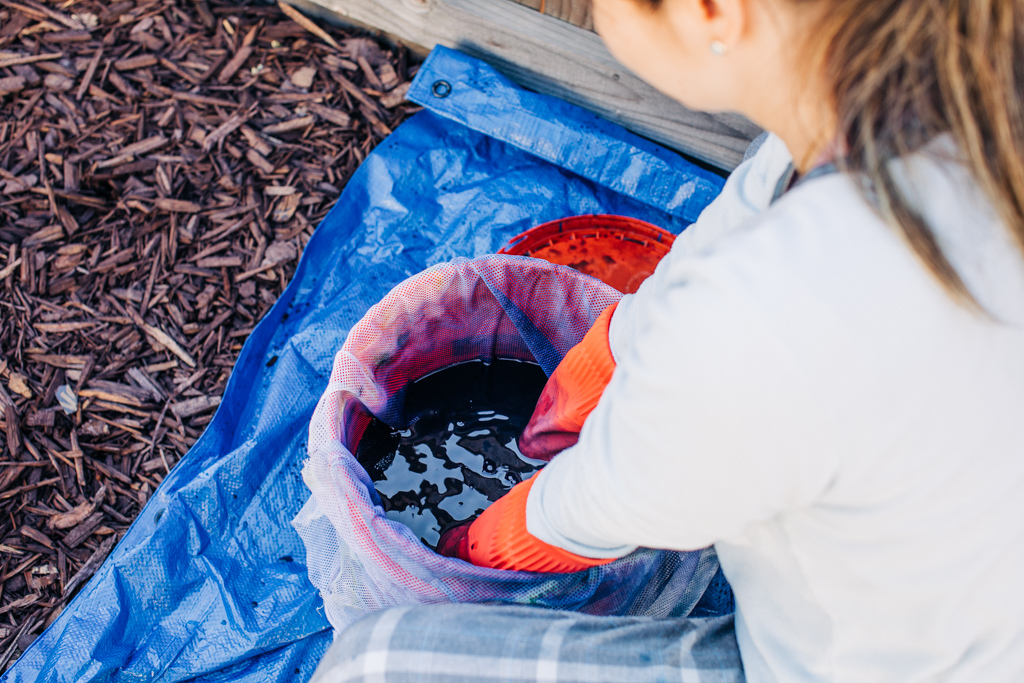
I followed my tie dye kit’s instructions, and set up the bucket of dye with warm water. The bucket of dye was a shimmery green, as it should be, and I took care to minimize splashing at every phase of dyeing in order to avoid oxidation of the bucket. I set up a mesh bag inside the bucket, which would prevent the items from touching the bucket bottom as they dye. We wanted to do this to prevent sediment on the bottom from disturbing my otherwise even dye work!
@veroniquekherian ##shibori ##diy ##tiedye for the first time today! results tomorrow
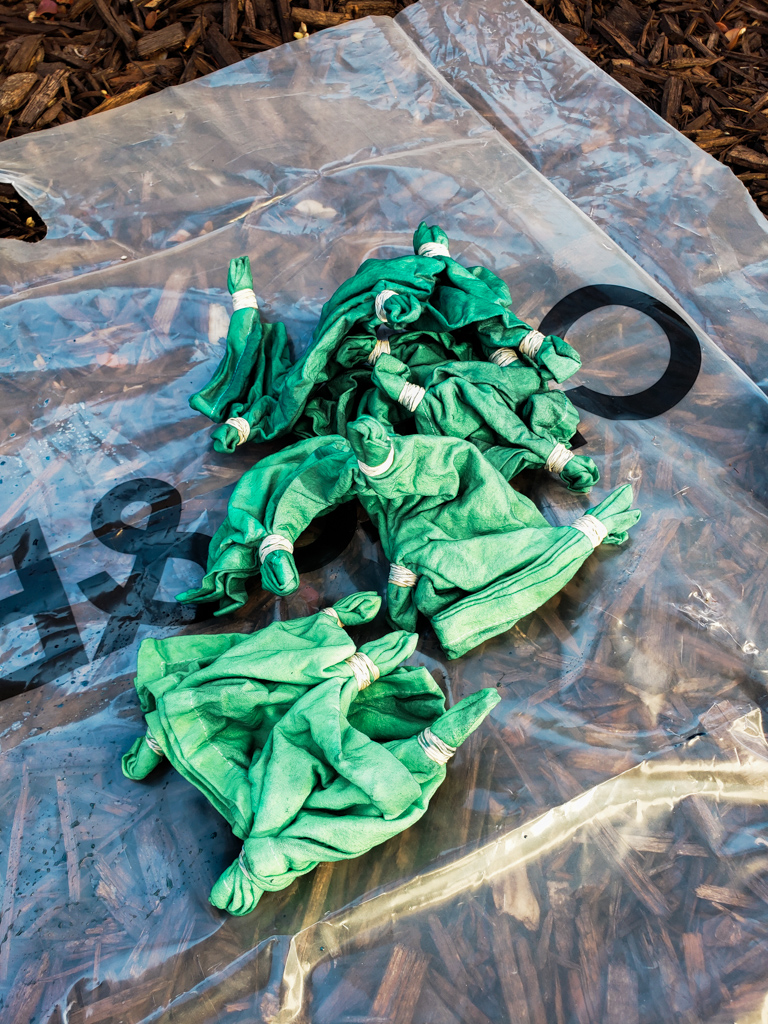
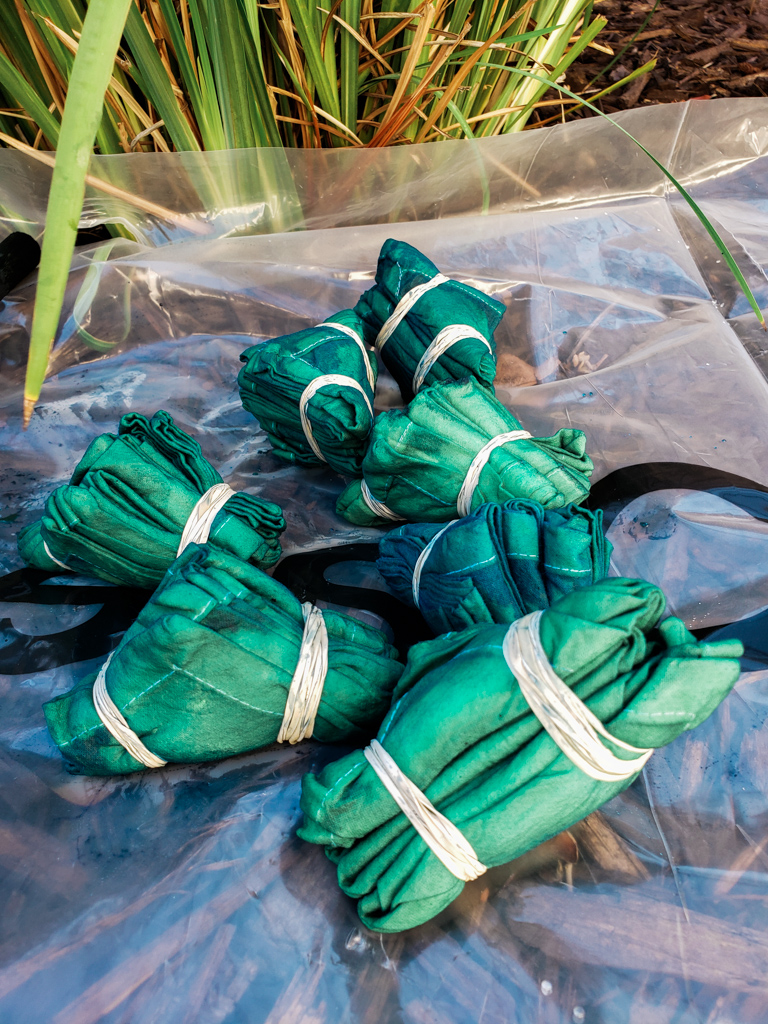
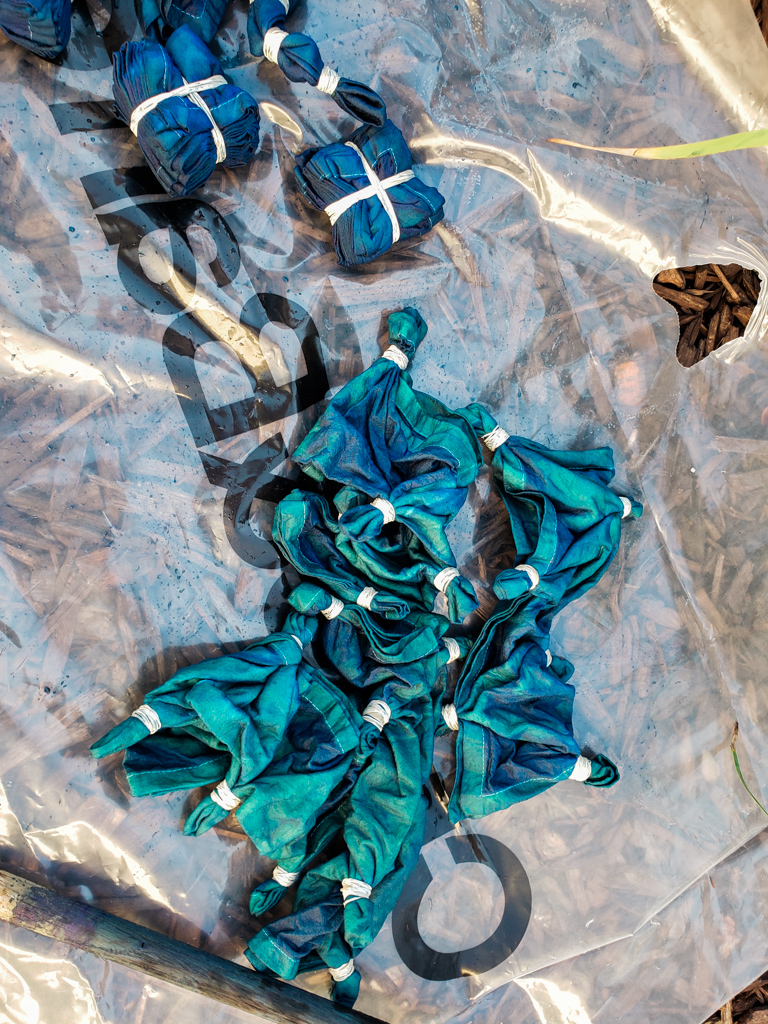
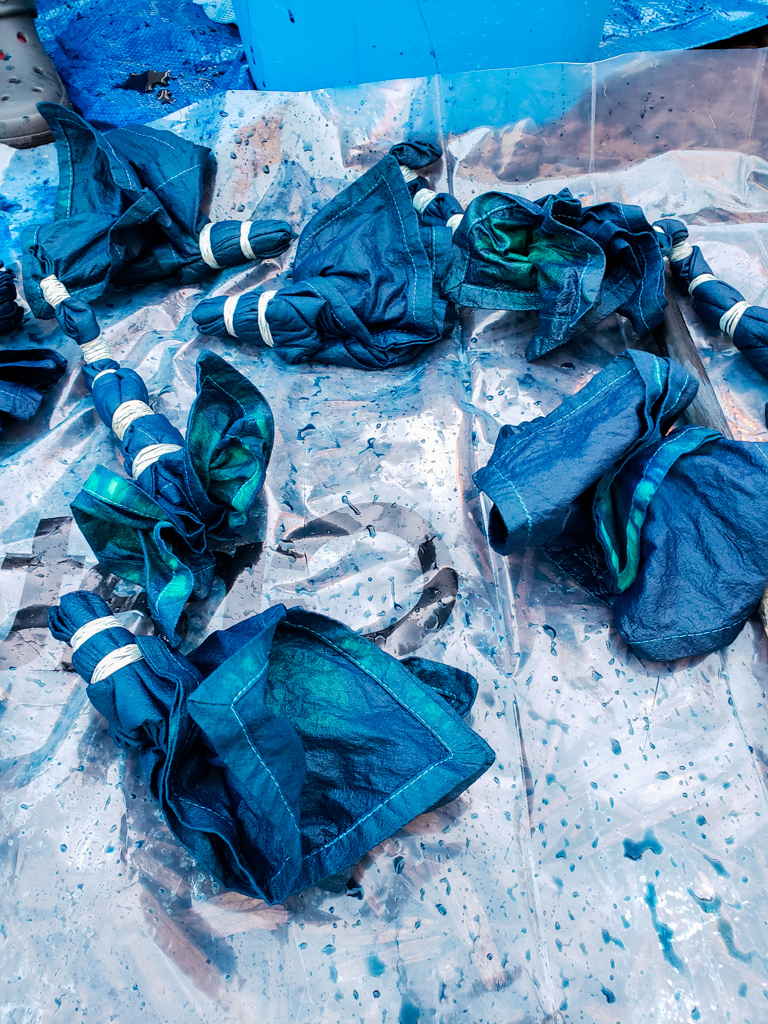
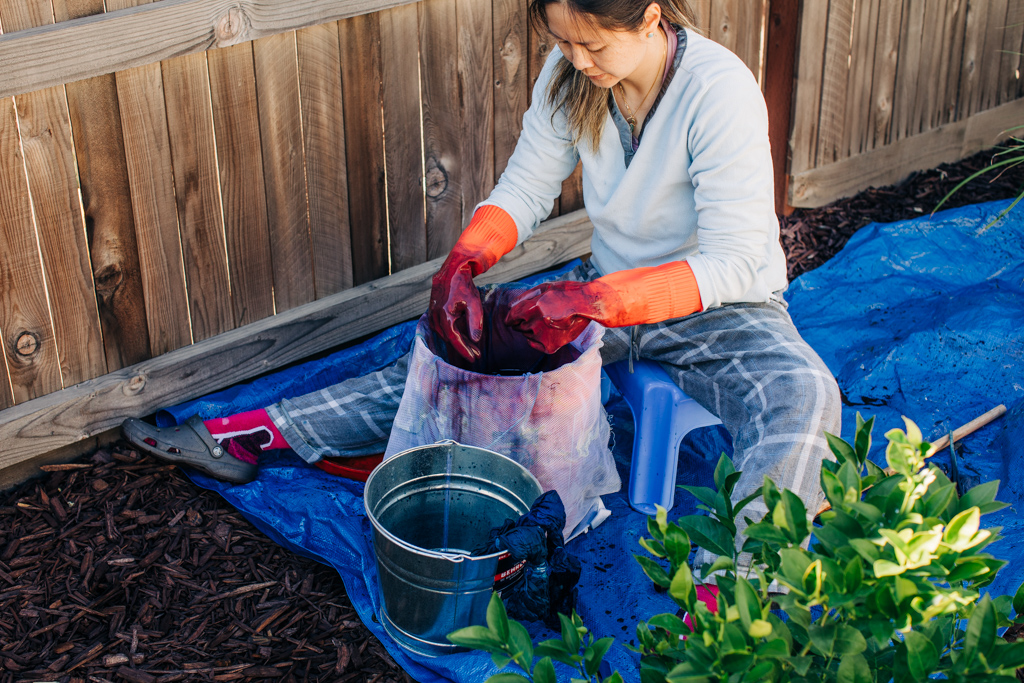
I learned that indigo dyeing works in successive layers. The darker you want your fabric, the greater the number of times you need to dip it. I submerged my fabric in the dye bucket for 6 rounds of 5 minutes each, with 20 minutes of oxidation time between each round. The pieces came out green, but turned blue as they sat in the air. While the pieces were oxidizing, I opened up the folds and pleats around the ties that I wanted to turn more blue, especially on the napkins where I had thicker folds.
To place each piece in, I squeezed the air out of each item, then slowly lowered it into the bucket to minimize the amount of air introduced into the bucket. While each piece was submerged, I had my hands in the bucket (This is why we need the long gloves!!! You can also use a long wooden stick.), and manipulated and moved each piece through the dye regularly to make sure every piece was evenly exposed. To remove each item, I twisted each one below the surface to remove pockets of water, and slowly lifted it out at the edge of the bucket to minimize splashing.

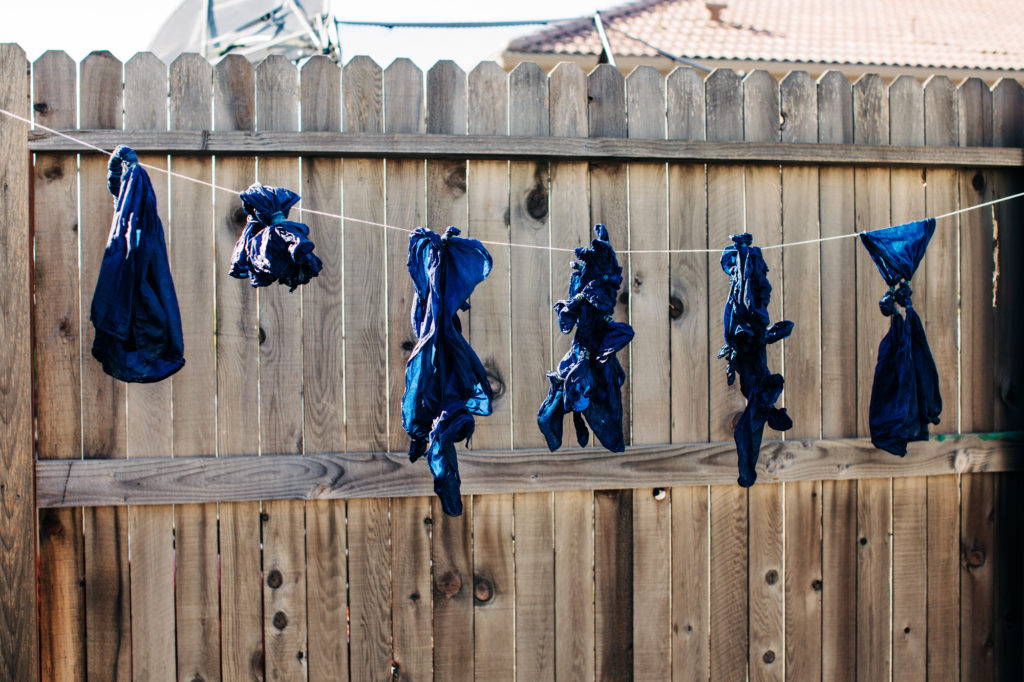
Direct sunlight can damage the dye, so we worked in open shade, but the clothesline I set up to hang my scarves were in direct sunlight. It was wintertime, so I’m just hoping the sun wasn’t too strong.
It took all afternoon to dye the napkins I had folded. I had 5 batches of napkins, each of which needed to be dyed for 6 rounds. My trusty assistant, M. Cheesemonger, was there to help me with timing and laying everything out to oxidize. I had wanted to go darker and try 8 or 10 rounds, but I was pretty tired out by the time we got to 5 rounds!
Rinsing and Opening
After dyeing all of the items, it was time to reveal! I suppose I should have let my pieces sit overnight to set a bit more, but I was excited, and my grandma wanted to see our handiwork. I hacked off all of the rubber bands with M. Cheesemonger’s help, and opened everything in my cold-running kitchen sink. Then, we washed everything in a cold cycle with no detergent.
@veroniquekherian rinsing out and opening some of the designs from today’s ##diy ##shibori ##tiedye ##fiberart project.
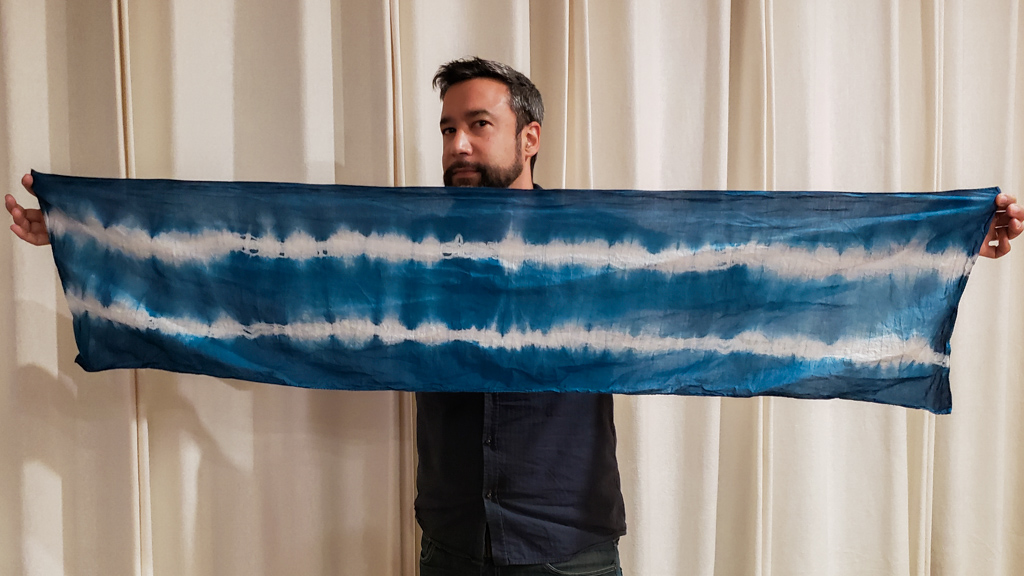
@veroniquekherian ta daaa all the final ##shibori ##indigo ##tiedye patterns I folded in this batch! ##diy
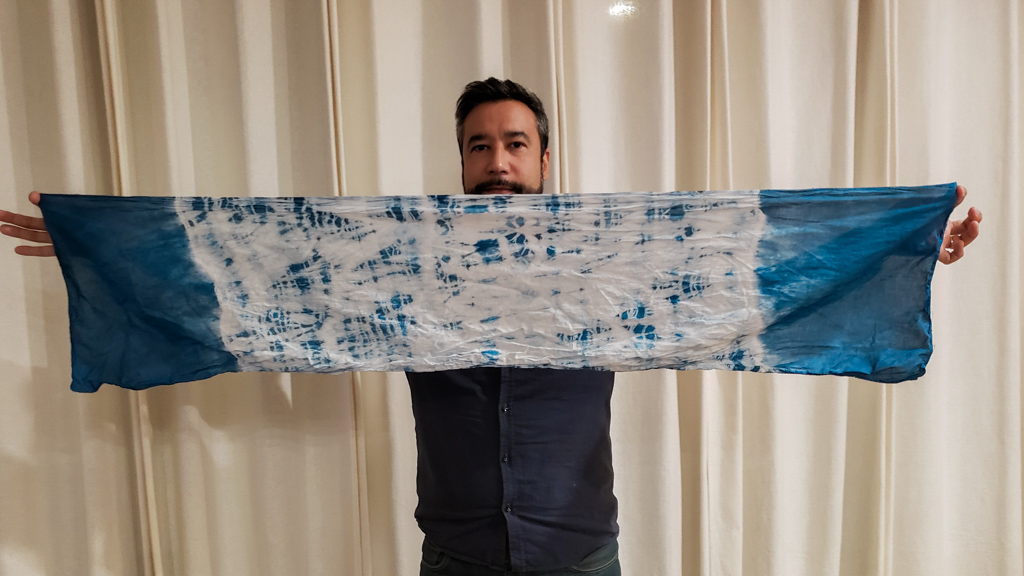
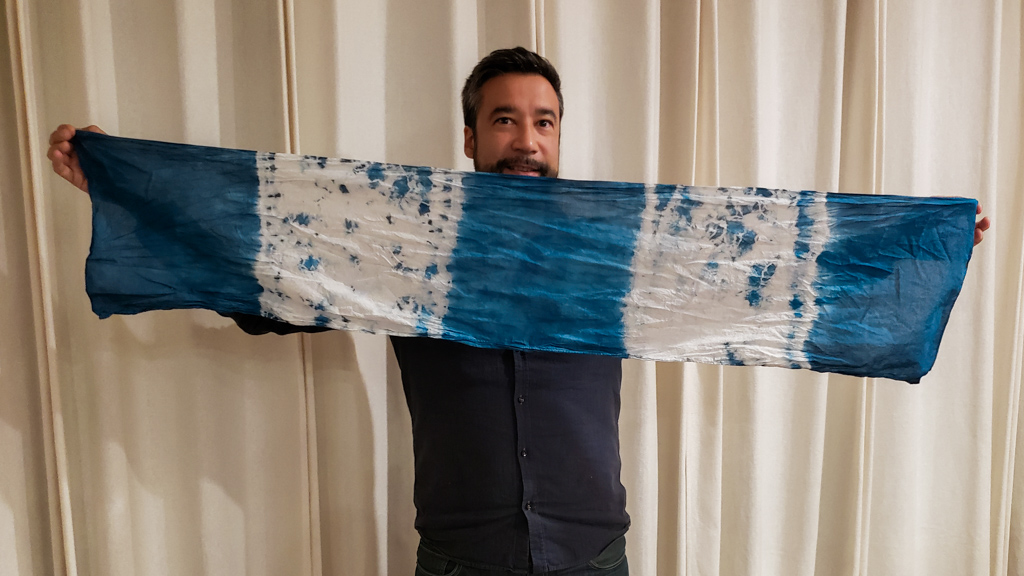
These scarves and napkins made for some very special gifts for some very special people in my life! I am so thrilled I had the chance to try Shibori. Will I do it again? Probably, but it was an extremely time intensive process, so it might be a special occasion-type activity.